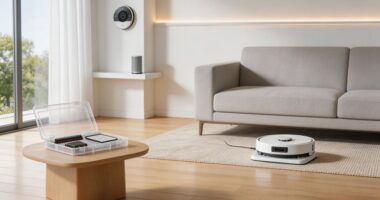

Your robot vacuum’s missed spots usually stem from three things: corrupted maps that lock the robot into skip patterns, dusty sensors that misread floors and furniture, or furniture your robot physically can’t navigate under. Dark floors fool infrared sensors into thinking they’re cliff edges. To fix it, delete the old map and remap in good lighting, clean sensors thoroughly, and test in an empty room to see whether obstacles or navigation’s the real culprit. Understanding which one you’re facing changes your next move entirely.
Key Points
- Corrupted maps lock navigation into repeated patterns, skipping entire zones; delete the map and force a full remap to rebuild from scratch.
- Dirty sensors—especially dusty LiDAR and cliff sensors—scatter detection signals; clean regularly with compressed air and microfiber cloths to restore accuracy.
- Dark floors and high-pile rugs trigger false cliff detection in infrared sensors; use light-colored tape on transitions and remove obstacles before mapping.
- Improper dock placement causes mapping errors; position flush against a straight wall with 20 inches clearance per side and 40 inches front.
- Low furniture and crowded room layouts create unreachable zones; raise furniture on risers or reposition pieces to improve vacuum access underneath.
How Robot Vacuum Map Errors Create Repeated Missed Spots
When your robot vacuum’s map gets corrupted—whether from sensor dirt, interrupted scans, or firmware glitches—it locks into navigation patterns that skip the same areas repeatedly because the robot’s brain thinks those zones don’t exist or are unreachable.
You can break this cycle by forcing a full remap: clear physical obstacles, clean all sensors, dock the vacuum properly, and start a fresh mapping run without interruptions. Ensure your charging dock placement is flush against a straight wall with at least 20 inches of clearance on either side and 40 inches in front for proper docking space. Bright sunlight, mirrors, and reflective surfaces can confuse navigation sensors during the mapping process, so choose a time of day with consistent indoor lighting for best results.
A clean remap typically fixes the phantom blind spots, though if it doesn’t work after one full cycle, outdated firmware or a software glitch might require an update or factory reset.
How corrupted floor maps generate persistent blind zones in the cleaning path
Because your robot vacuum’s navigation system relies on creating an accurate floor map during cleaning runs, corruption in that map doesn’t just disappear—it compounds over time. Those blind zones persist across every future cleaning cycle. A corrupted floor map fix requires resetting your map entirely and running a fresh mapping pass. Environmental interference such as chair legs or wet floors can create phantom maps that reinforce these navigation errors with each cycle. To prevent future mapping errors, ensure your charging dock placement follows proper clearance guidelines with no obstacles within 0.5 m on sides and 1.5 m in front. Otherwise, your vacuum circles the same spots while genuinely missing others.
How to force a full remap to clear navigation errors
Once your robot vacuum’s map gets corrupted, you’ve got one reliable fix: delete it and start fresh.
Head into your app and remove the old map entirely. This forces your robot to rebuild from scratch on its next run.
Update firmware first for compatibility.
When remapping completes, customize no-go zones and room labels. Let your robot return to the Omni Station to ensure the new map saves properly to both the device and your app.
A robot vacuum map error cleared this way typically resolves persistent navigation blind spots.
How Sensor Obstructions Cause Your Robot Vacuum to Skip Areas
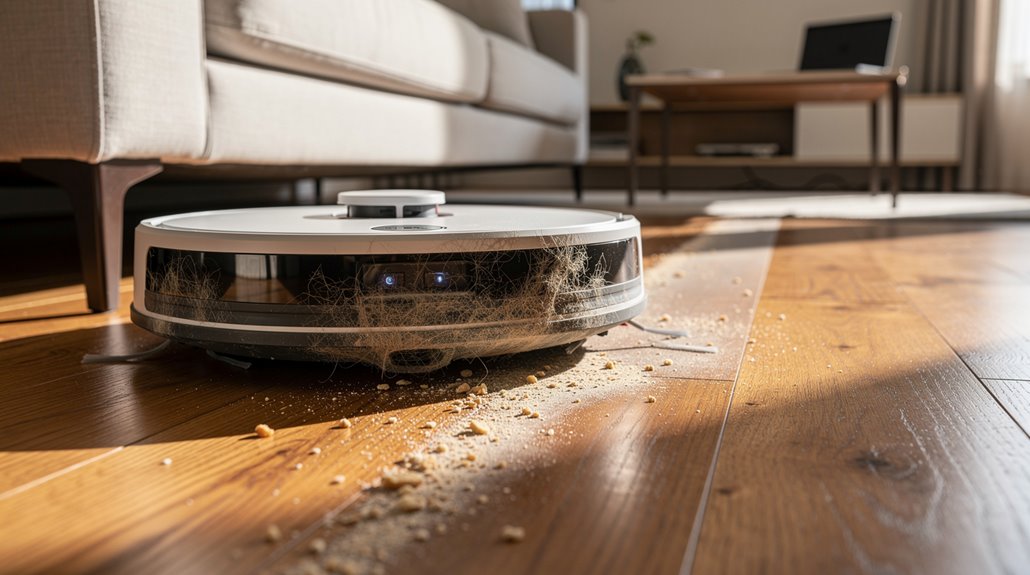
Your vacuum’s cliff sensors sit on the bottom where they collect dust and debris, and when they’re blocked, they think there’s a drop-off where there isn’t one—so your vacuum stops dead on a perfectly flat floor, treating clean carpet like the edge of a staircase.
A dusty LiDAR unit has the same problem: it can’t see far enough into the room to build an accurate map, so it misses entire sections and assumes those areas are already mapped when they’re actually untouched. Test individual sensors via your robot’s accompanying app after cleaning to confirm they’re functioning properly.
Clean these sensors regularly, and you’ll stop watching your vacuum ghost past half your living room like it doesn’t exist.
How dirty cliff sensors create phantom no-go zones on clean floors
Phantom no-go zones on perfectly clean floors usually point to one culprit: dirty cliff sensors. Your vacuum detects a drop where none exists because dust and smudges block the infrared beams. The robot backs away, leaving clean areas untouched. This cliff sensor obstruction happens gradually as debris accumulates. Regular edge detection sensor maintenance is essential because these sensors work underneath your vacuum to recognize drops and prevent falls, so when they become obstructed, the robot cannot distinguish between actual hazards and clean floor space. When sensors remain dirty over time, they can create persistent phantom barriers that prevent your vacuum from accessing entire sections of your home, similar to how improperly configured virtual boundaries restrict cleaning access.
| Problem | Cause | Result | Fix |
|---|---|---|---|
| Dust buildup | Regular use | False drop detection | Compressed air |
| Pet hair | Shedding | Blocked sensors | Microfiber cloth |
| Fingerprints | Maintenance | Misread reflectivity | Isopropyl alcohol |
| Dark rugs | Beam absorption | Phantom barriers | Light tape borders |
How a dusty LiDAR unit reduces effective mapping range
While dirty cliff sensors create false barriers on clean floors, a dusty LiDAR unit does something different—it shrinks the space your vacuum can actually see and map.
Dust scatters laser pulses, cutting your robot vacuum’s detection range from six meters down significantly. Your cleaning robot misses distant walls and furniture. Mapping becomes patchy. You get incomplete coverage and inefficient routes because the lidar sensor can’t see far enough to plan properly. LiDAR’s rapid multi-directional pulses normally provide the precision needed for locating obstacles and planning efficient routes, but dust obstruction prevents this accuracy. Without effective navigation, your vacuum cannot autonomously reduce missed spots and repetitive passes, requiring more manual intervention to rescue it from getting stuck or overlooking entire areas.
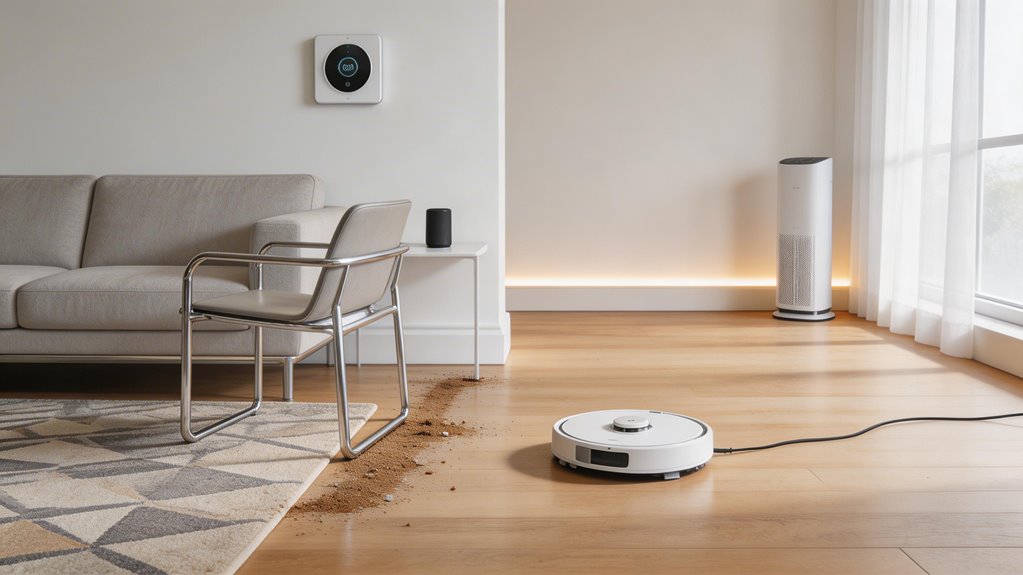
Why Certain Floor Types Cause Robot Vacuum Navigation Failures
Your robot vacuum’s downward-facing infrared sensors struggle on dark floors because they can’t distinguish the floor surface from shadows or deep color transitions, often mistaking them for drop-offs and triggering cliff avoidance mode.
When you move the vacuum from hard floors to high-pile rugs, those thick fibers block the sensors’ view entirely, and the wheels lose traction mid-transition, forcing the robot to stop or restart its mapping rather than continuing its cleaning path. Regular sensor cleaning with a microfibre cloth prevents these false readings and keeps your vacuum operating smoothly across different surfaces. Keeping your floors tidy and removing obstacles before mapping cycles will improve mapping accuracy and prevent these sensor-related failures.
How dark floors affect downward-facing infrared sensors
If you’ve got dark tile, dark wood, or a charcoal-colored area rug, your robot vacuum’s downward-facing infrared sensors are basically getting confused.
Here’s what happens:
- Sensors emit IR light expecting reflections back
- Dark surfaces absorb that light instead of bouncing it
- Low reflections register as cliff edges to your bot
- Your vacuum avoids the area entirely, leaving it uncleaned
The dark floor robot vacuum problem stems from physics, not design failure.
Your bot thinks it’s protecting itself from falling. Advanced sensors like LiDAR and calibration systems can distinguish actual edges from dark surfaces, enabling full coverage where basic infrared alone would fail. Regular sensor cleanliness is essential for maintaining optimal detection accuracy and preventing performance degradation on dark floors.
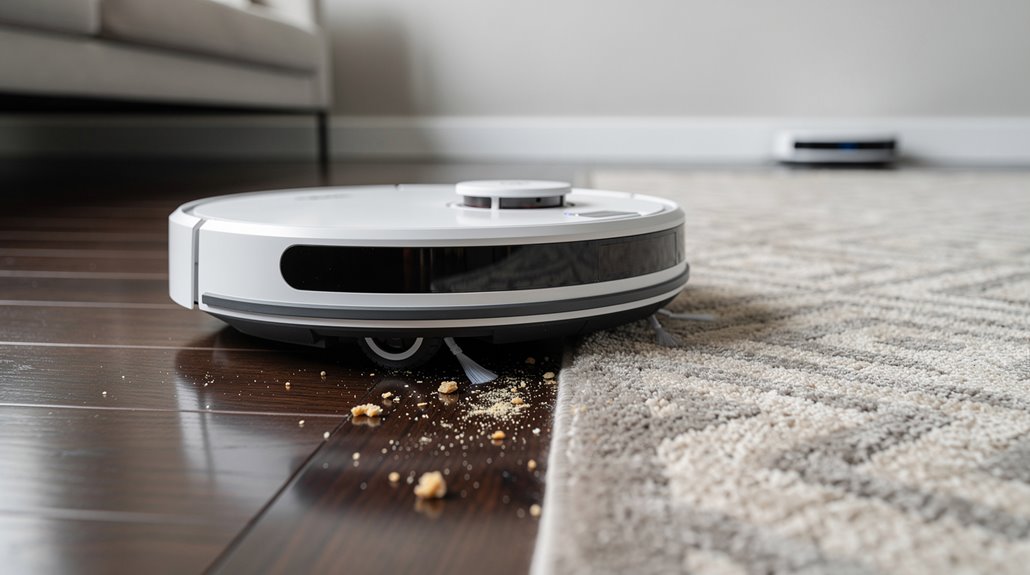
How high-pile rugs interrupt cleaning path transitions
High-pile rugs create a specific problem: your robot vacuum’s wheels sink into thick fibers and lose traction, while its sensors misread the rug’s raised edges as cliff drops.
This combination creates robot vacuum blind zones where your cleaner simply won’t go. The machine circles awkwardly, then abandons the room entirely. Carpet boost mode helps, but deeper rugs often require virtual walls to prevent avoidance loops altogether. Applying light-colored tape to dark rug transitions can help your vacuum’s sensors distinguish the edge from an actual cliff. Approaching the rug from the side sometimes improves your robot’s chance of crossing raised edges that would otherwise trigger retreat behavior.
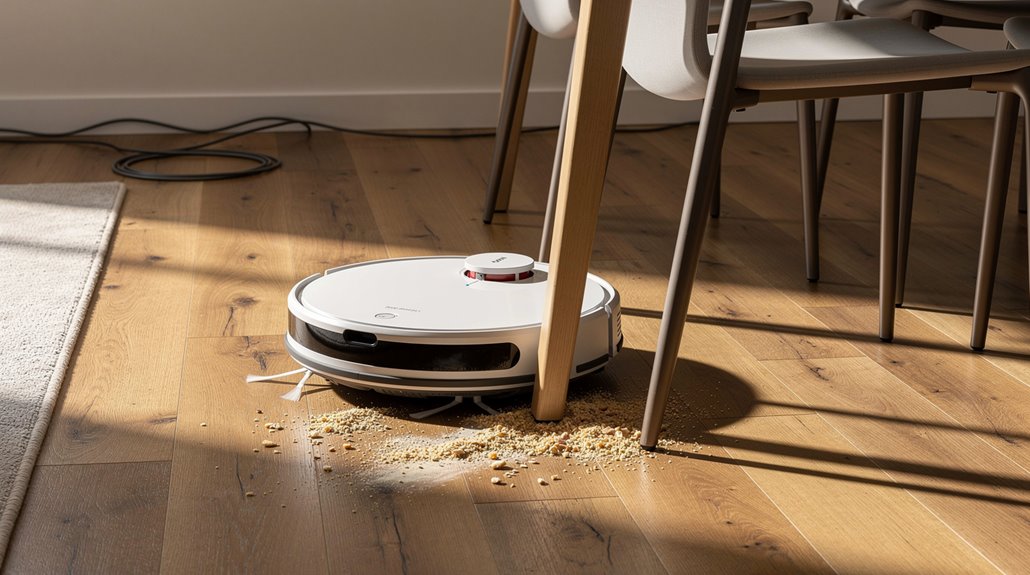
How Furniture Layout Creates Unreachable Zones for Robot Vacuums

Most robot vacuums won’t clean the spots they can’t reach, and your furniture layout is often the culprit.
Your robot vacuum unreachable areas multiply when you crowd rooms with low-clearance pieces. Consider these obstacles:
- Sofas and beds block underneath access entirely
- Tight corners exceed your vacuum’s turning radius
- Enclosed furniture clusters create sensor dead zones
- Dense arrangements trap dirt in unreachable pockets
Raising furniture on risers or repositioning pieces widens pathways significantly. When obstacles block LiDAR and camera sensors, your vacuum cannot map those areas accurately, leaving them out of the cleaning plan entirely. Advanced navigation systems can adapt to rearranged spaces and recognize obstacles more effectively than basic models.
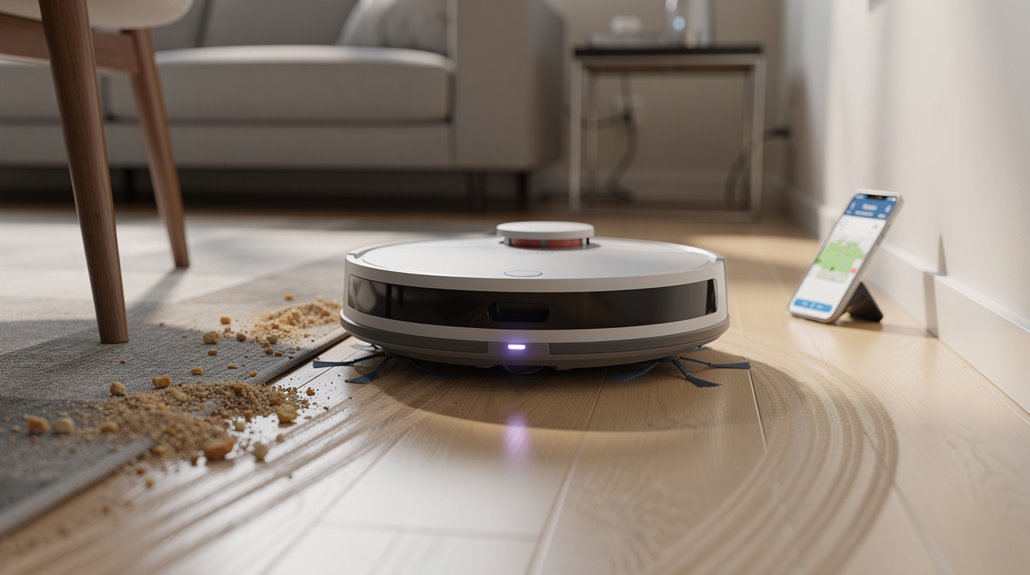
How to Diagnose Whether a Missed Spot Is Navigation or Physical Obstruction
Pinning down whether your robot vacuum’s missed spots stem from navigation failure or physical obstruction requires you to think like a troubleshooter—because the robot itself won’t tell you which one’s the problem.
Watch your app’s coverage map. Random, looping paths suggest navigation issues. Systematic coverage with consistent gaps near clutter points to obstacle avoidance limitations. Multi-sensor coordination between perception, mapping, and decision-making stages determines whether your robot can distinguish between a temporary obstacle and a permanent fixture in your layout. Modern robots combine multiple sensor types like LiDAR, cameras, structured light, and ToF sensors to detect varied household obstacles more reliably than older bump-sensor-only systems.
Test in an empty room to confirm what’s actually blocking your robot vacuum missing spots.
Frequently Asked Questions
How Often Should I Clean My Robot Vacuum’s Sensors to Maintain Accurate Navigation?
You should clean your robot vacuum’s sensors monthly for general maintenance. However, you’ll need weekly or bi-weekly cleaning if you’ve got pets, or more frequently in dusty environments to maintain accurate navigation.
Can I Manually Program My Robot Vacuum to Focus on Specific Problem Areas?
You’re absolutely right—you can! Open your manufacturer’s app, draw priority zones on your home map, and set custom modes like edge cleaning or boost suction. Schedule frequent cleanings in problem areas through app routines.
What’s the Ideal Room Size for Optimal Robot Vacuum Performance and Coverage?
You’ll get peak performance in medium rooms with open layouts and minimal obstacles. Your robot vacuum handles 100-105mm furniture clearance effectively while LiDAR mapping guarantees complete coverage without missed corners.
Should I Use Virtual Boundaries or Physical Barriers to Improve Cleaning Patterns?
You’ll get ideal results by combining both methods. Use virtual boundaries for customizable room-level control and physical strips for protecting specific areas like pet bowls. This hybrid approach maximizes your vacuum’s cleaning patterns.
How Does My Robot Vacuum’s Battery Life Affect Its Ability to Complete Cleaning?
Don’t you want your vacuum finishing every room? Your battery life directly determines runtime—degraded batteries cut sessions short, leaving areas uncleaned. You’ll need replacements every 2-5 years to maintain complete coverage.
Conclusion
You’ve now got the roadmap to understand what’s actually happening when your vacuum decides certain corners deserve a pass. Most missed spots aren’t mysteries—they’re either mapping hiccups, sensor issues, or your room’s layout working against the robot. Run through those diagnostics, clear those sensors, rearrange if you need to. Your vacuum’s not stubborn. It’s just working with limited information, same as you’d do.