
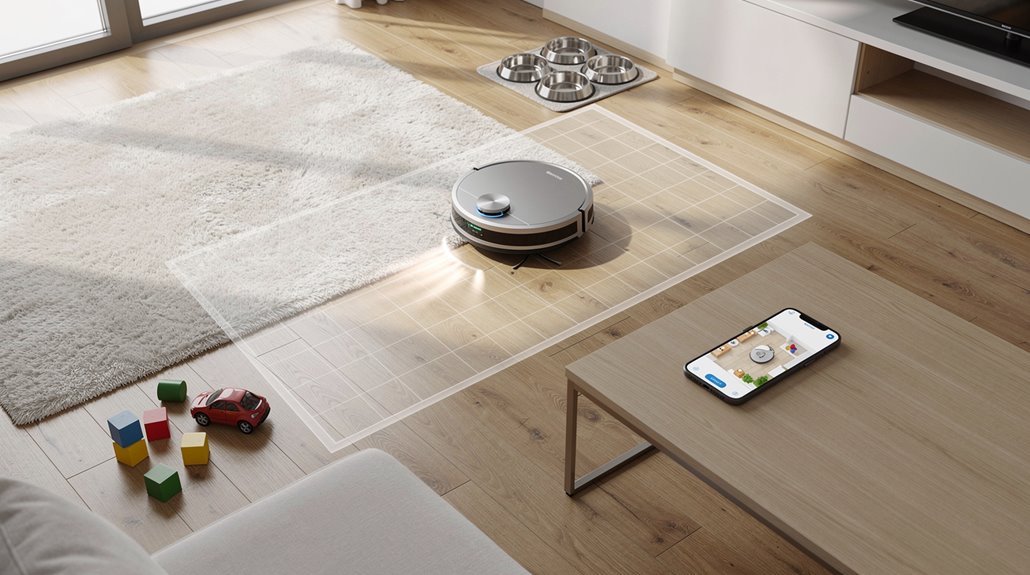
You draw virtual boundaries and room dividers directly in your app, and the vacuum references them during every cleaning cycle. Start by letting your robot map your home with LiDAR or cameras, then position dividers to name rooms and create no-go zones. Accuracy hinges on proper dock placement flush against a wall and clean sensors. Expect 2–4 inches of edge drift even in ideal conditions, so buffer zones around delicate areas by 6–12 inches. Once you’ve tested your first run, scheduling targeted zones becomes straightforward.
Key Points
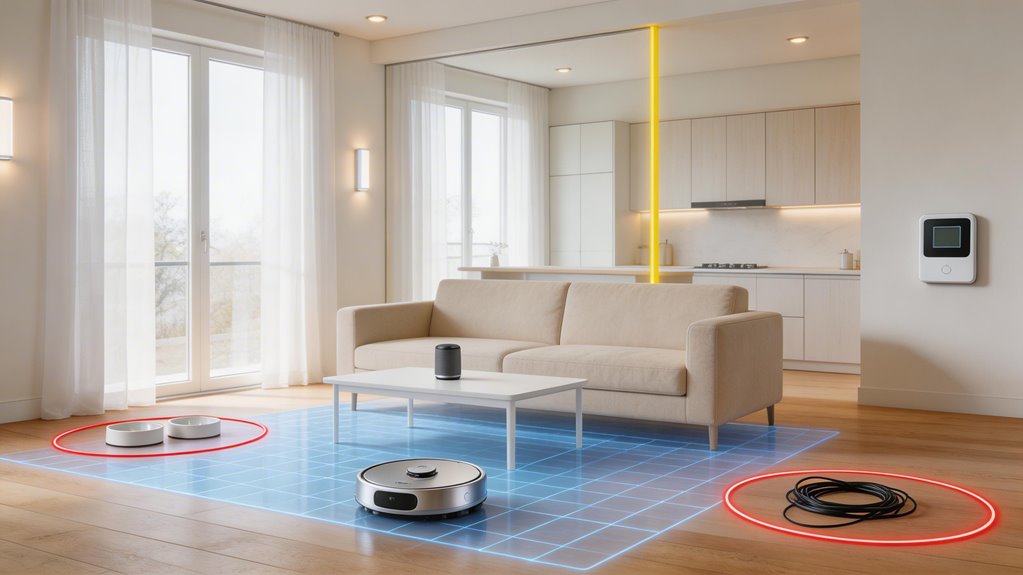
- Virtual boundaries drawn in the app become stored no-go zones within floor map data referenced during every cleaning cycle.
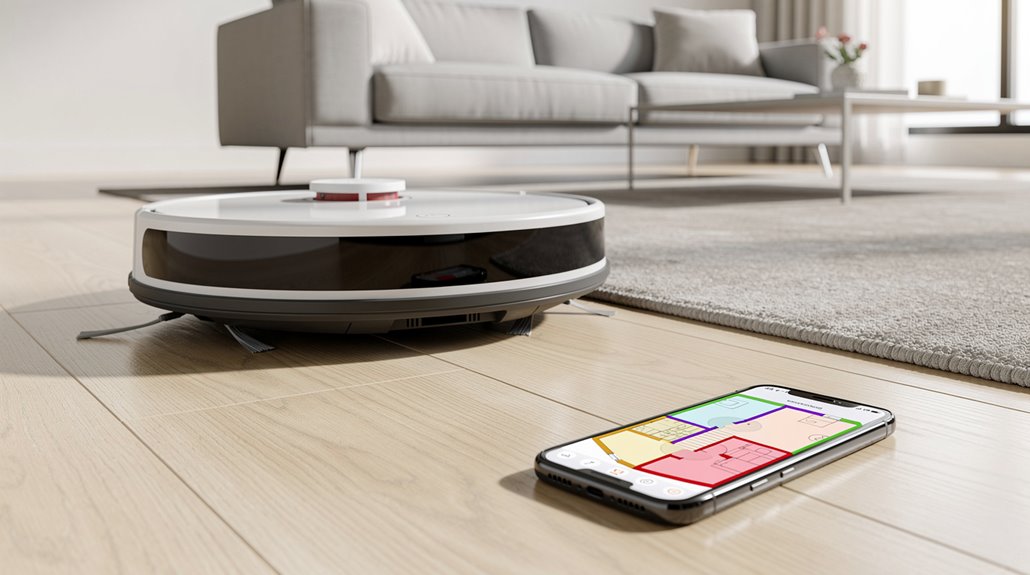
- Manual room dividers allow naming rooms and precise zone control; auto-detection groups adjacent areas but may require manual splitting.
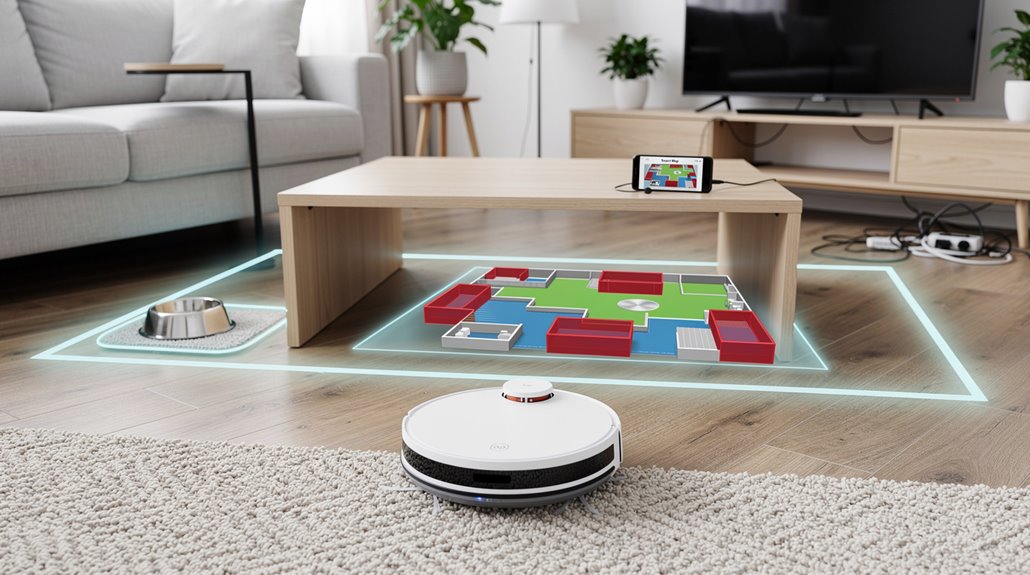
- Select specific zones on your home map once dividers are positioned and tested for targeted cleaning operations.
- Create buffer zones 6–12 inches wider than hazards to account for typical 2–4 inch edge drift margins.
- Ensure dock placement is flush against a straight wall with proper clearance to maintain accurate map and zone boundaries.
How Zone Cleaning Technology Works Inside Robot Vacuum Mapping Apps
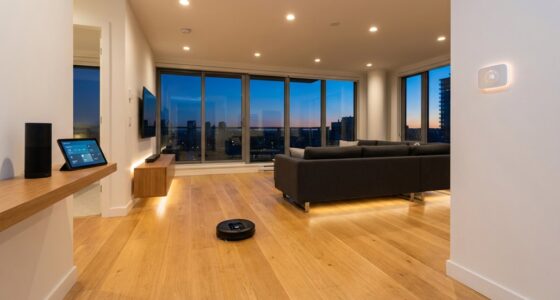
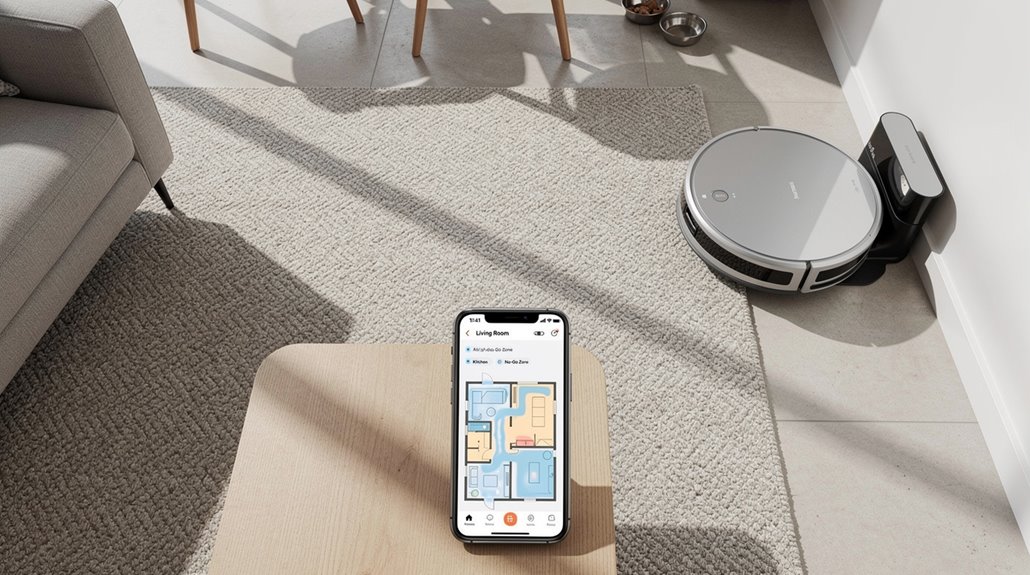
When your robot vacuum maps your home, it’s not just wandering around randomly—it’s using a combination of sensors to build a digital blueprint that the app displays in real time.
Your companion app stores this map, letting you draw virtual boundaries for robot vacuum zone cleaning.
You’re effectively telling the vacuum where it can and can’t go without physical setup. Most robot vacuums create these detailed maps during the first cleaning process while simultaneously scanning your surroundings and identifying walls, furniture, and obstacles. Advanced models use Lidar technology to scan your home more efficiently and accurately capture the layout of multiple rooms.
How to Set Up No-Go Zones in a Robot Vacuum App
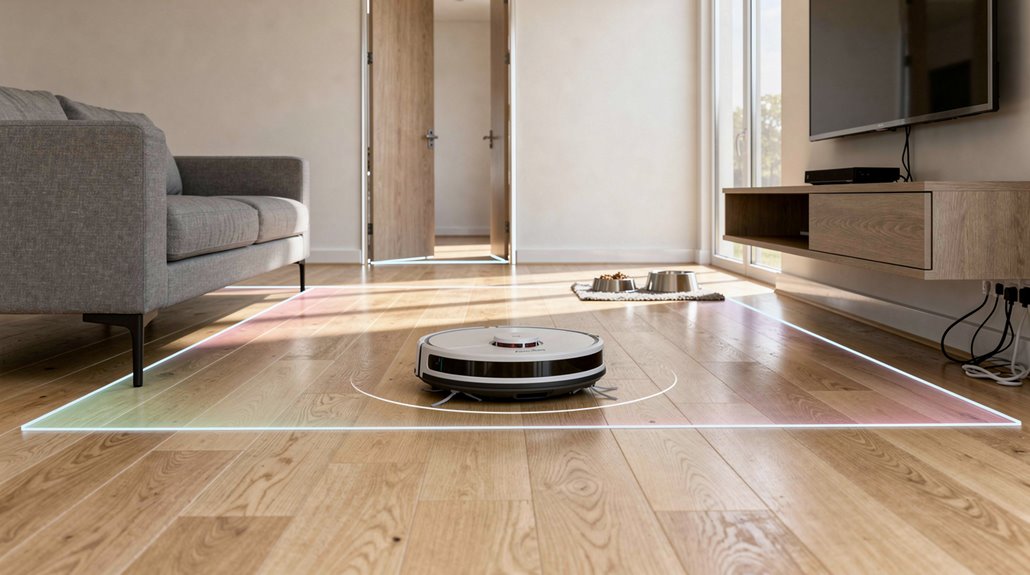
When you create a no-go zone in your app, the boundary data gets stored as part of your floor map, so the vacuum references it during every cleaning cycle.
You’ll notice there’s typically a 2-4 inch margin of error at the edges where your vacuum might drift slightly past the line you drew, which is why the prep steps recommend making zones at least 6-12 inches wider than actual hazards. To further protect delicate areas, obstacle detection sensors work in combination with your virtual boundaries to identify potential hazards and reinforce zone enforcement. Most modern robot vacuums allow you to adjust boundaries in real time via your smartphone app, so you can modify restrictions during active cleaning sessions if needed.
That buffer zone isn’t a flaw—it’s just how the sensors and mapping system account for real-world positioning uncertainty.
How virtual wall boundaries are stored within the floor map data
Once you’ve drawn your virtual boundaries in the app, here’s what’s actually happening behind the scenes: those no-go zones and virtual walls get saved directly into your floor map data as permanent fixtures.
Your vacuum stores up to five complete floor maps with all boundaries included. This permanent memory storage ensures that your cleaning preferences remain intact even after the device powers down and recharges. Maps are saved on both the robot and the eufy app for redundant backup protection.
When you reposition furniture or need adjustments, you’ll update the map so your virtual barrier robot vacuum stays accurate during cleaning cycles.
What margin of error exists at no-go zone boundary edges
No-go zone boundaries aren’t as sharp as they appear in your app. You’ll typically see 5-15 cm of drift at edges, depending on your vacuum’s sensors and floor conditions.
Dark flooring and reflective surfaces widen that margin further. LiDAR performs best, but even ideal conditions allow 5-10 cm tolerance. To maximize boundary reliability, ensure your home environment remains consistent with steady lighting and minimal clutter during the initial mapping phase, as environmental consistency directly impacts how accurately your vacuum interprets zone edges.
Robot vacuum zone boundary accuracy depends heavily on environmental factors you mightn’t control. To maintain optimal cleaning efficiency, it’s recommended to set only boundaries absolutely necessary around delicate furniture or areas with lots of wires.
How to Set Up Room Dividers and Targeted Cleaning Zones
Your robot vacuum can auto-detect room layouts in open-plan spaces, though it’ll sometimes group adjacent areas together since it doesn’t see walls you do.
You’ll want to manually draw and adjust those boundaries in your app to split rooms the way you actually use them, which gives you precise control over where the vacuum goes.
Once you’ve got the dividers set where you want them, you can target specific zones for cleaning instead of running the whole house every time. Keeping dock power cord clear of the base and maintaining clear spaces will help preserve your robot’s sensor and dock connections for accurate navigation and mapping during zone cleaning.
How auto-room detection divides open-plan floor layouts
When your robot vacuum first powers on in an open-plan space, it doesn’t see “one big room”—it sees a puzzle to solve.
Your vacuum’s robot vacuum room segmentation uses LiDAR and cameras to scan 30,000 data points per pass, identifying doorways and structural features. The AI groups these zones together, then adapts them as furniture shifts. SLAM continuously updates these internal floor plans while the vacuum moves, ensuring accurate zone recognition even after you rearrange your space. Wall sensors use infrared to detect walls and enable boundary-following without bumping into obstacles. You can then select which detected areas to clean through your app.
How to manually draw and adjust room boundaries for better zone accuracy
Once your vacuum maps out the space and detects room boundaries automatically, you’ve got the real work ahead—making sure those digital lines actually match where you want the robot to go.
Your robot vacuum room divider setup lets you angle dividers and adjust them directly in the app. You’re naming rooms, repositioning boundaries, and testing how your vacuum actually navigates those zones during real cleaning cycles. Keep in mind that mapping-capable units provide improved navigation via maps and room-specific cleaning features that enhance accuracy when you’re fine-tuning these digital boundaries.
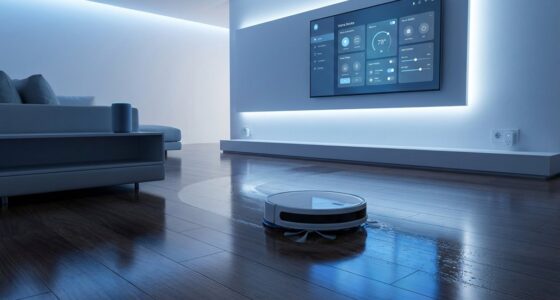
How to Create Scheduled Zone Cleaning Routines in the Robot Vacuum App
Setting up scheduled zone cleaning routines takes a bit of upfront work, but it’s straightforward once you know where to look in your app.
Setting up scheduled zone cleaning routines requires initial effort but becomes simple once you locate the app’s schedule menu.
You’ll navigate to the schedule menu, then create a new routine by selecting your preferred time and frequency. Before you begin, ensure your vacuum is docked and sufficiently charged to enable the scheduled cleaning setup. Using the ECOVACS Home app or your device’s native application makes this process seamless across compatible smart devices.
Here’s what you’ll configure:
- Choose start time and repeat options like daily or weekdays
- Select specific zones on your home map
- Adjust suction power and mop settings per schedule
- Save and test the first run to verify accuracy
Common Robot Vacuum Zone Setup Errors and How to Resolve Them
Even after you’ve nailed your scheduled routines, your robot vacuum’s zone cleaning can still go sideways if you haven’t set things up right from the start.
Dirty sensors confuse navigation. Reflective surfaces bounce the laser beam. Improper dock placement warps your map. Closed doors hide unmapped spaces from your robot vacuum app zone setup. Regular sensor maintenance prevents navigation errors that compromise zone accuracy. Ensure your dock is positioned flush against a straight wall with minimum clearance requirements on either side to maintain reliable localization for accurate zone boundaries.
Each one scrambles zone boundaries and triggers cleanup failures you’ll need to fix manually.
Which Robot Vacuum Apps Have the Most Reliable Zone Cleaning Tools
Your robot vacuum’s zone cleaning only works as well as the app controlling it, and not all apps are built the same way.
A robot vacuum’s zone cleaning performance is only as good as its controlling app—and quality varies significantly across brands.
Here’s what separates the reliable ones:
- Roborock Saros 10R: Matter support plus solid-state LIDAR for precise robot vacuum virtual wall placement
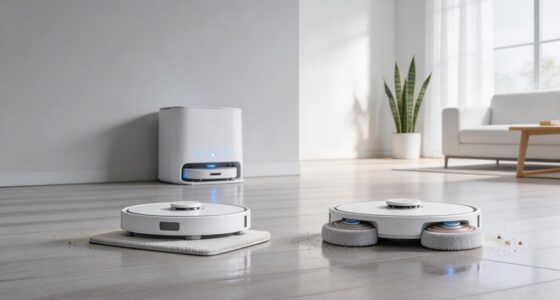
- Dreame L40S Ultra: Automatic carpet detection preserves no-go zones on mixed floors
- Narwal Flow: Best mopping accuracy within designated zones
- iRobot Roomba: Consistent performance across every zone test
Each handles obstacles and boundaries differently. The Dreame L40S Ultra’s corner algorithm also enables more effective edge coverage when mopping in confined spaces, ensuring zones near cabinets and stove corners receive thorough cleaning. Apps that offer pre-job control customization allow users to adjust suction levels and water amounts before zone cleaning begins, optimizing performance for specific room types.
Pick based on your floor type and layout complexity.
Frequently Asked Questions
Do Robot Vacuums Consume More Battery Power When Cleaning Multiple Zones?
Yes, you’ll consume more battery power when cleaning multiple zones. Overlapping areas waste energy, inefficient paths drain your battery faster, and the resume function after recharging adds extra cycles, boosting overall consumption.
Can Zone Cleaning Work Effectively on Multi-Level Homes or Apartments?
You can effectively use zone cleaning in multi-level homes if your vacuum has multi-floor mapping and automatic dock-and-resume capabilities. You’ll need strong navigation, adequate battery life (90+ minutes), and threshold-climbing ability for successful operation.
How Often Should I Update or Recalibrate My Vacuum’s Zone Map?
You’ll recalibrate your vacuum’s zone map monthly, yet coincidentally, firmware updates often trigger recalibration needs sooner. Clean sensors weekly, adjust furniture placement monthly, and perform quarterly software reviews to maintain mapping accuracy throughout your home.
Will Zone Cleaning Reduce My Robot Vacuum’s Overall Cleaning Efficiency?
Zone cleaning won’t reduce your efficiency—it’ll actually improve it. You’re customizing paths for targeted cleaning, eliminating unnecessary full-house runs, and letting DirtSense stop once areas are spotless, saving you time and battery.
Can I Share Zone Settings With Other Users or Devices?
You can’t directly share zone settings through brand apps like Narwal, Roborock, or iRobot. However, you can manually recreate zones on other devices or share Home Assistant YAML scripts with other users for indirect sharing.
Conclusion
You’ve now got the setup skills to make zone cleaning work for you. Start with no-go zones around pet bowls and stairs, then layer in room dividers once you’ve got the hang of it. Don’t put all your eggs in one basket—test your zones before scheduling anything. Most apps handle this smoothly, though some lag behind during map updates. You’ll refine your setup as you learn what actually works.