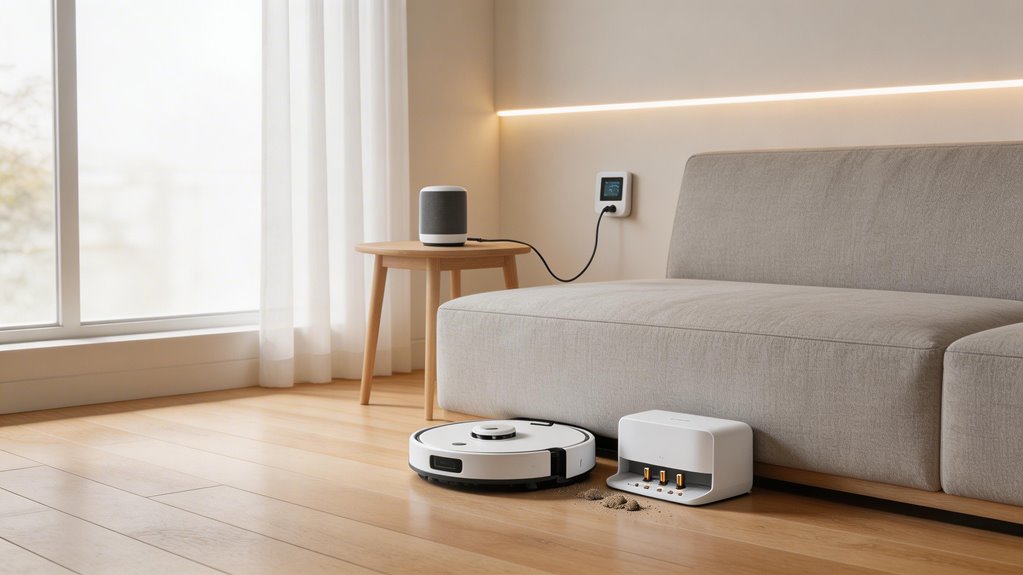

Start by isolating whether your dock or robot’s the problem. Check the dock’s indicator light, inspect power connections, and listen for charging sounds when you place the robot on the dock. Clean both the dock and robot contacts with a dry microfiber cloth monthly—debris’s a common culprit. Test your power adapter with a multimeter against manufacturer specs. If the robot charges via direct port but not the dock, contact support. Battery calibration issues and firmware bugs can also block charging despite good physical contact. Each of these factors plays a specific role in why your vacuum won’t charge.
Key Points
- Verify dock power delivery by checking indicator light, outlet switch, and adapter connections before testing robot.
- Inspect and clean metal contacts on both dock and robot using a dry microfiber cloth and isopropyl alcohol.
- Test voltage output with a multimeter against manufacturer specifications to confirm power adapter functionality.
- Listen for charging sounds and verify robot power switch is on; check if direct port charging works.
- Perform battery calibration through full charge-discharge cycles or contact service if physical inspection reveals no issues.
How to Confirm Whether the Robot Vacuum or the Dock Is the Fault

When your robot vacuum won’t charge, the first thing you need to figure out is whether the problem lives in the dock or the robot itself—because the fix depends entirely on which one’s broken.
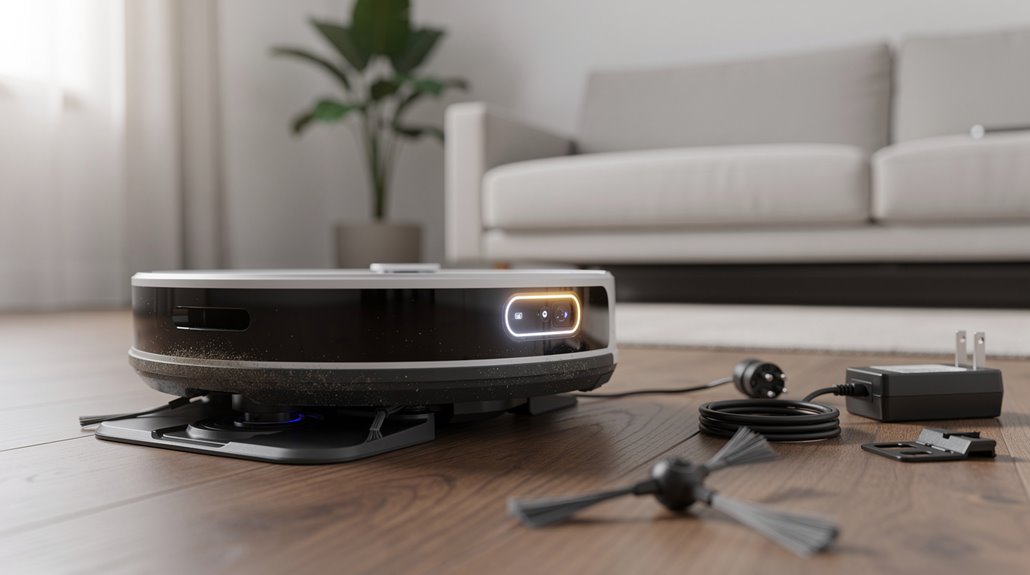
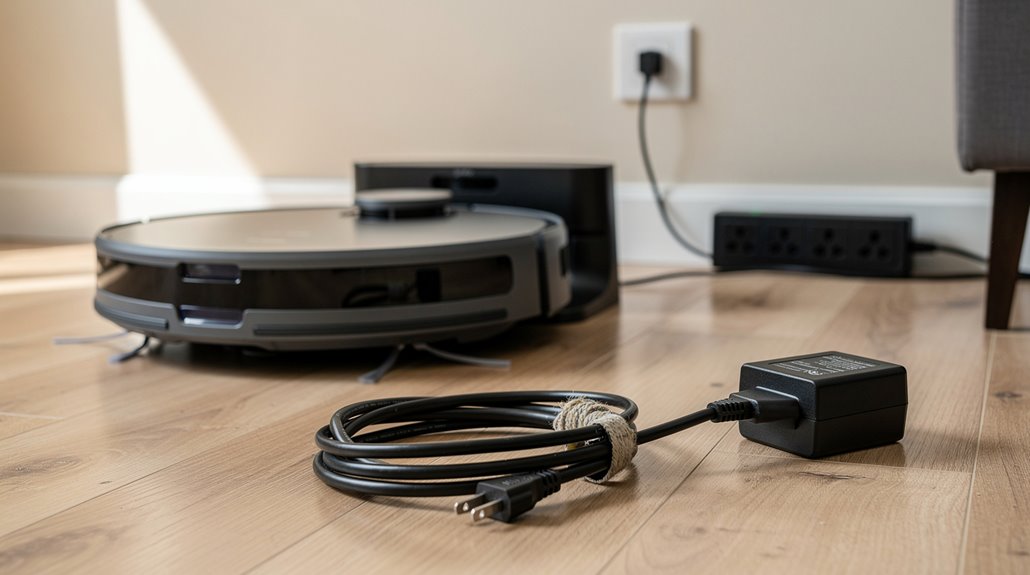
Test the dock power first: check the indicator light and adapter connections. Avoid using extension cords and ensure the outlet switch is turned on to prevent misdiagnosis of power delivery issues. Dirty charging contacts on either the dock or vacuum can also block the electrical connection even when power is reaching the dock.
Test your dock’s indicator light and adapter connections to confirm power is reaching the charging station.
Then verify your robot’s power switch is on and listen for charging confirmation sounds.
This robot vacuum dock fault diagnosis narrows down where the real issue sits.
How Dirty Dock Contacts Cause Robot Vacuum Charging Failures
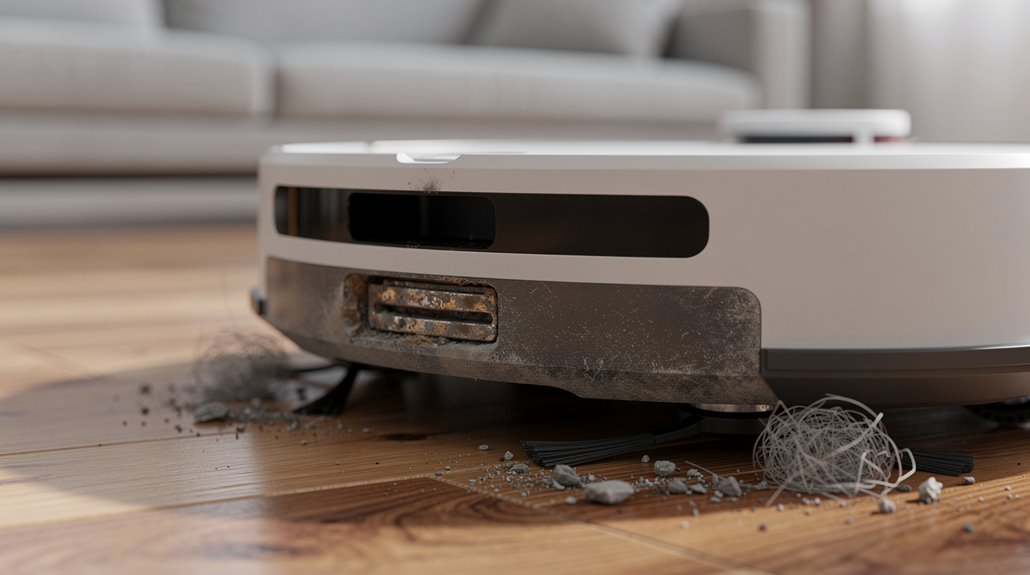
Your dock contacts collect dust and debris just like the vacuum does, and when that grime builds up, it blocks the electrical connection your robot needs to charge properly.
Over time, moisture and acids from your environment corrode the metal contacts, creating a layer of oxidation that acts like an insulator—this process speeds up in humid spaces or areas where you use cleaning solutions.
You’ll want to clean both sets of contacts regularly with a soft cloth and isopropyl alcohol to prevent corrosion from taking hold in the first place. Debris can also accumulate in the front dock opening and between the contact spacing, which may cause alignment issues during docking. If cleaning doesn’t restore your charging connection, nickel contact caps can replace worn contacts and reestablish a quality dock connection.
How to clean charging contacts on dock and robot without causing damage
Dirty charging contacts are one of the most common reasons robot vacuums fail to charge, yet they’re also one of the easiest things to fix.
Use a dry microfiber cloth to wipe both robot vacuum dock contact cleaning surfaces. A soft brush handles delicate pins without scratching. Skip water entirely—it causes short circuits. Wipe charging station internal components after removing and drying removable tanks and bins to prevent debris accumulation. Proper alignment of connectors on the dock is essential for a solid connection and effective charging.
Clean monthly. Inspect for hair and grime. Dry everything completely before reassembling.
How contact corrosion develops and what environmental factors accelerate it
As a robot vacuum sits unused or runs regular charging cycles, the metal contacts on both the dock and robot begin a slow process of oxidation—exposure to air gradually builds a thin film of oxidized metal that increases electrical resistance.
Humidity, dust, and neglected dock conditions accelerate this corrosion.
Heat from poor contact then warps plastic around the contacts, making charging contact corrosion worse with each cycle. High current through inadequate contacts can generate sufficient heat to melt plastic around the charging points, creating a feedback loop where deformation prevents firm contact and further elevates resistance.
How to Diagnose a Robot Vacuum Lithium Battery Calibration Problem
A battery calibration reset tells your vacuum’s fuel gauge and power management system to relearn how much charge you actually have, which often fixes phantom shutdowns or inaccurate battery readings when the battery itself is still healthy.
You trigger this reset by fully charging, then completely discharging through use cycles, which resets the BMS—the battery management system—so it can properly track your battery’s real capacity again.
Deep discharge is particularly important here because it forces the BMS to register the actual low point, correcting SoC (state of charge) estimation errors that usually pile up over hundreds of charge cycles. If calibration does not resolve the issue, replace battery as a final step to restore proper charging functionality. Scheduling calibration every three months or after 40 charge-discharge cycles maintains accurate reference points and prevents unexpected shutdowns from occurring.
What a battery calibration reset involves and when it restores charging
When your robot vacuum stops charging or shows wildly inaccurate battery readings, a battery calibration reset walks your device through a controlled full charge, complete discharge, and recharge cycle to recalibrate the battery management system’s fuel gauge.
This robot vacuum battery calibration process restores charging recognition after replacements, software updates, or when error rates hit eight percent—before they escalate to alarm thresholds. A soft reset or reboot performed after the calibration cycle can further resolve any lingering software glitches that may have been affecting the device’s charging behavior.
How deep discharge affects lithium-ion battery recovery capacity
Your robot vacuum’s lithium-ion battery loses its ability to recover after deep discharge because the chemistry inside fundamentally changes when voltage drops too far below the normal operating range. The anode and cathode undergo irreversible damage. Lithium ions deplete, triggering unwanted reactions that degrade the electrodes permanently. Prolonged exposure to low state of charge can cause irreversible cell damage that even the battery management system cannot fully prevent once the damage has occurred. A complete discharge estimated to reduce overall lifespan by approximately 30%–50% makes regular monitoring essential to prevent deep discharge events.
| Discharge Level | Recovery Potential | Damage Type |
|---|---|---|
| Below 2.5V | Minimal | Permanent chemical degradation |
| 20-50% | Good | Reversible with proper charging |
| 50%+ | Excellent | Minimal stress to battery |
How to Identify a Failed Robot Vacuum Power Adapter
Most robot vacuum charging problems trace back to the power adapter, and you’ll want to know how to spot a failing one before it leaves your vacuum dead on the floor.
- Look for burn marks, swelling, or melted plastic around the prongs
- Feel the adapter during operation; unusual warmth signals internal damage
- Test voltage output with a multimeter against manufacturer specifications
Robot vacuum power adapter failure often goes unnoticed until your dock won’t charge.
Check metal contacts for corrosion too.
How Robot Vacuum Firmware Bugs Can Cause False Charging Failures
Before you assume your robot vacuum’s dock is broken, consider that a firmware glitch might be the culprit.
Outdated software can disable charging even when physical contact looks fine.
Your robot vacuum firmware charging bug might trigger false protective shutdowns or prevent dock recognition entirely.
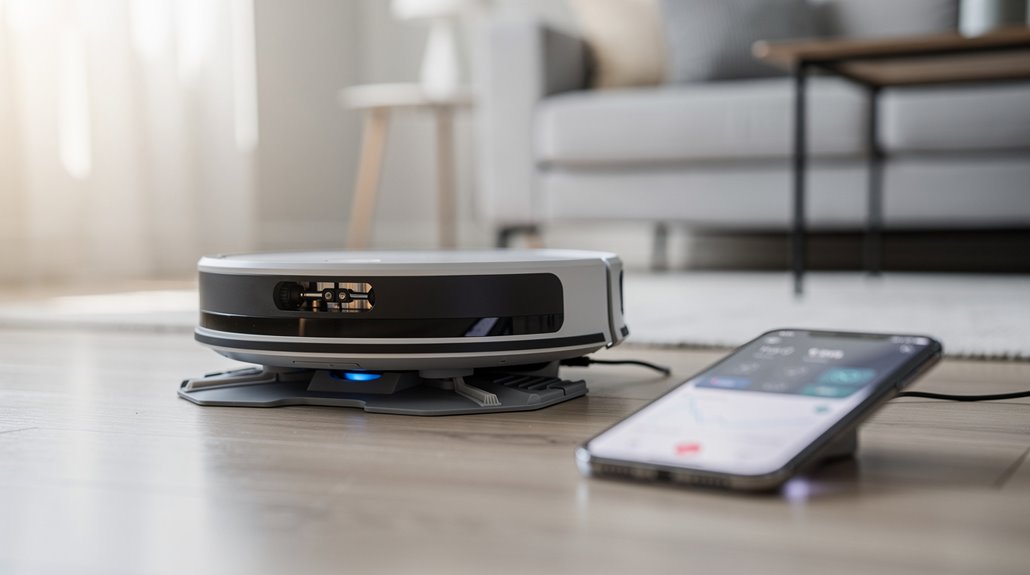
A soft restart or firmware update often resolves these false failures without replacing hardware. Software updates improve charging logic, power calibration, and error detection to restore normal docking behavior. In some cases, map corruption from failed docking attempts can interfere with the vacuum’s ability to recognize and return to the charger reliably.
When a Robot Vacuum Charging Problem Requires a Manufacturer Service Call
When a firmware update or dock repositioning doesn’t get your robot vacuum charging again, it’s time to ponder whether something’s broken inside.
You’ll need manufacturer support if you’re facing:
- Visible burn marks or electrical odors from the unit or dock
- Robot charges only via direct power port, not the dock itself
- Battery replacement fails to resolve charging issues despite proper installation
Contact your manufacturer’s certified service center. They’ve got the diagnostic tools you don’t. Ensure you clean charging contacts regularly before contacting support, as debris accumulation on connection points is a frequent culprit that service centers often identify in initial troubleshooting.
Frequently Asked Questions
Can Extreme Temperatures Affect My Robot Vacuum’s Charging Ability?
Yes, extreme temperatures significantly impact your robot vacuum’s charging ability. Operating at 45°C reduces battery life by 50%. You’ll maintain peak charging accuracy between 0°C and 85°C. Store your vacuum in cool environments for longevity.
How Often Should I Replace My Robot Vacuum’s Battery?
You should replace your robot vacuum’s battery every 2-3 years for most models. High-end vacuums like Narwal Flow last 3-4 years. Replace it sooner if runtime drops below 50% of original performance.
What’s the Average Lifespan of a Robot Vacuum Dock?
Your robot vacuum dock typically lasts 4-6 years with proper care. You’ll extend its lifespan by keeping contacts clean, protecting it from moisture, and replacing worn components like charging pins when they degrade.
Are Third-Party Chargers Safe for Robot Vacuums?
Third-party chargers aren’t safe for your robot vacuum. You risk fire hazards, battery damage, and voided warranties. You should use only OEM chargers or verified replacements from reputable suppliers that guarantee compatibility.
How Do I Reset My Robot Vacuum’s Charging System?
You can reset your robot vacuum’s charging system by cleaning the charging contacts with a dry cloth or isopropyl alcohol, ensuring they’re dry, then performing a soft reset through your app’s device settings or holding the power button for 10-20 seconds.
Conclusion
You’ve probably found the culprit by now: dirty dock contacts cause most charging failures, not the vacuum itself. But here’s what catches people off-guard—firmware glitches can mimic dead batteries perfectly. Before you call the manufacturer, you’ve got genuine troubleshooting steps. Most issues resolve with contact cleaning or a power adapter swap. The expensive repairs happen when you skip the basics first.